Creating a comfortable and safe habitat for your pet rabbit extends beyond the choice of bedding and accessories; it involves ensuring that every aspect of their environment, including the hutch itself, is free from potential hazards. For many rabbit owners, personalizing or restoring a hutch with a fresh coat of paint is a common practice, but it raises important questions about safety and suitability. In this essay, we will embark on a journey to discover the significance of selecting non-toxic, pet-safe paints, reveal the critical steps involved in the preparation and application process, and underscore the necessity of proper drying and ventilation to protect your furry friend’s health. Whether you’re a seasoned rabbit caretaker or a newcomer to the world of pet parenthood, being informed about these practices is crucial for the wellbeing of your rabbit while keeping their living space vibrant and welcoming.
Pet-Safe Paint Selection
Choosing Bunny-Safe Paints for a Happy Hutch
Hey there, fellow parents and homemakers!
A cozy, well-maintained rabbit hutch is more than just a spot for our furry friends to munch on hay – it’s their safe haven, a place where they spend a significant portion of their time. Ensuring that space is not only comfortable but also safe, especially when it comes to applying a fresh coat of paint, can be a tad bit challenging. Don’t worry, though! Today, we’re diving right into the best kinds of paint to use on a rabbit hutch to make sure it’s both spick-and-span and safe for our hoppy companions.
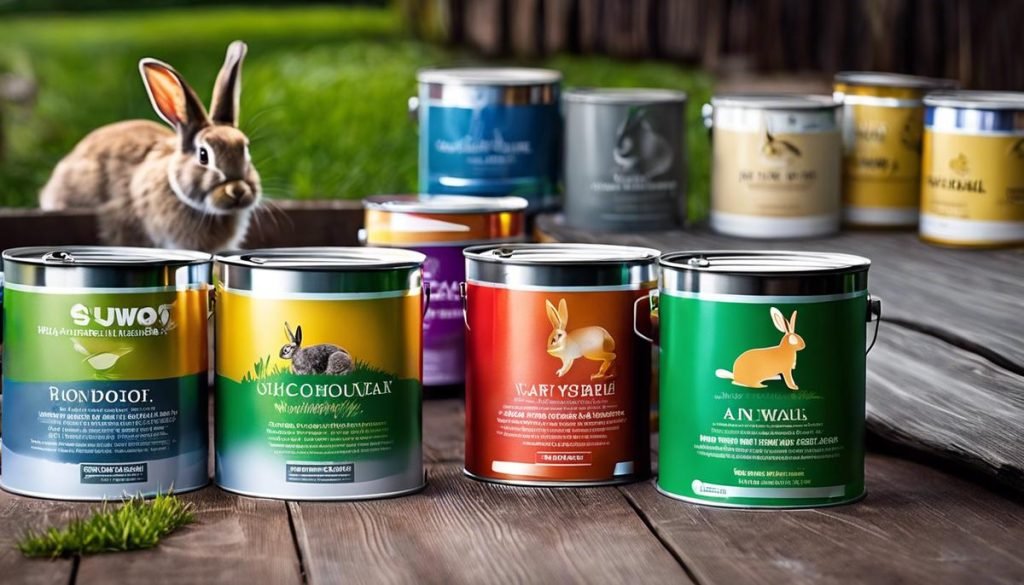
First things first, let’s hop into the eco-friendly world of water-based paints. These are generally the safest option for the bunny domain. Look out for paints labeled as non-toxic and zero-VOC (volatile organic compounds). VOCs can be harmful not just to rabbits, but to humans as well – we certainly don’t want those pesky chemicals floating around our homes.
When scouring the paint aisle, keep an eye peeled for products specifically marketed as pet-safe or child-safe. These tend to have fewer dangerous chemicals and are a more suitable choice for the surfaces your rabbits might nibble on. Remember, bunnies explore the world with their mouths, so having that extra level of safety is crucial.
It’s also important to consider the finish of the paint. A high-gloss finish can be easier to clean and often provides a bit more durability against the elements if your rabbit’s home is outdoors. Plus, a glossier finish can prevent your rabbits from gnawing on the hutch, which helps to keep both the paint job and your rabbit looking their best.
Now, don’t hop straight to painting just yet! Make sure to properly ventilate the area if painting indoors, or ideally, paint outside to let the hutch fully dry and air out before letting your rabbits back in. The drying process is vital as it allows any harmful fumes to dissipate, making the hutch a safe place for rabbit romps once more.
One more tip: sometimes the crafty route is the way to go. If you’re a DIY enthusiast, look into natural and homemade paint options like milk paint. Made from milk protein, it’s an eco-friendly, non-toxic choice for a bunny-safe hutch makeover.
To wrap things up, caring for our floppy-eared friends means taking the extra step to ensure what we bring into their environment is as pure and safe as the love we have for them. By choosing water-based, non-toxic, zero-VOC, pet-safe or child-safe paints, we are making a conscious choice that keeps our rabbits happy, healthy, and hoppy. Now, let’s get that hutch looking like a bunny palace!
Remember, it’s not just about sprucing up their space; it’s about keeping them safe in the process. So, grab those brushes, and let’s create a haven that both you and your rabbits will adore! Happy painting, folks!

Preparation and Application
When it comes to giving a rabbit hutch a fresh coat of paint, there’s more to it than simply picking a color that catches your eye. It’s essential to prioritize our furry friends’ health first and foremost, ensuring that the entire process—from preparation to the last brush stroke—is done with their safety in mind. Here are some clear-cut steps to guide you in preparing and applying paint to a rabbit hutch in a way that’s as safe as it is satisfying.
Start by emptying the hutch completely. Remove all bedding, feeders, water bottles, and especially your rabbit. Choose a well-ventilated area to work in, preferably outdoors to minimize the inhalation of any fumes.
Before grabbing a paintbrush, it’s time to get the surface ready. Begin by cleaning the hutch thoroughly. Scrub away any dirt and debris with a mild soap and water solution, taking care not to soak the wood. A damp cloth should do the trick. Next, allow the wood to dry completely, which may take up to 24 hours depending on the weather and humidity.
Smooth surfaces ensure better paint adhesion and a more refined finish, so grab that sandpaper and lightly sand any rough areas. If the hutch was previously painted or varnished, sanding is equally important for helping the new coat of paint to stick. Wipe down the surfaces afterwards to remove any wood dust.
Now, here’s a neat trick: to keep the painting process tidy, consider laying out some old newspapers or a drop cloth under the hutch. This way, drips and spills won’t be a concern and clean-up becomes a breeze.
Safety first, remember? So gear up in those protective gloves and perhaps a safety mask. Got those pet-safe or child-safe paints ready? Great! With a brush or a small roller, start applying the paint in thin, even coats. Aim for full coverage without overloading the wood. Over-painting can cause runs and drips, and nobody wants that messy aftermath.
It can be tempting to go all in with one thick coat to save time, but patience wins this race. Apply the first coat and let it dry completely. Check the recommended drying times on the paint can as a guideline—this could be several hours.
After the first coat is thoroughly dry, inspect the hutch for any missed spots or uneven areas. Approach the second coat with the same care, ensuring even coverage and remembering that less is more when it comes to the amount of paint on your brush or roller.
Once the final coat has been applied, the true test of patience begins: the drying period. It may take a day or two for the paint to completely cure. This time is critical, so resist the temptation to move the hutch or return your rabbit too soon.
In the spirit of making the hutch not just safe, but also a delightful living space, consider adding some personal touches. But, only add these after the paint is fully dried and cured—waiting will be worth it.
Finally, before introducing your rabbit back to its freshly painted home, conduct a thorough inspection. Ensure there is no lingering odor, and the surface is completely free of any paint residue. Once everything’s set, you can reintroduce the bedding and your rabbit into its newly spruced-up abode.
By following these practical steps, parents and homemakers alike can provide their rabbits with a freshly painted hutch that promises safety and comfort. Because in our quest for a cozy and captivating family home, every member, even the smallest, deserves the best.

Drying and Ventilation
When it comes to ensuring the optimal conditions for paint drying and hutch ventilation, the key is to create an environment that allows paint to properly adhere and cure without putting our furry friends at risk. Here are the top considerations.
Temperature and Humidity Control:
First and foremost, let’s talk about temperature and humidity. The sweet spot for most water-based paints is between 50-85°F with a humidity level below 50%. Picking a day with these conditions is ideal because too much moisture in the air can slow down drying times and compromise the finish. A dry day with a little sunshine is your best bet for a smoothly painted hutch that dries uniformly.
Ample Airflow:
Next up, ventilation. Keep that fresh air circulating! It’s not just about the paint drying, it’s about giving those fumes somewhere to go, especially when they’re fresh. If painting indoors, prop open doors, and windows or set up fans to maintain a gentle breeze. For outdoor painting sessions, a spot that catches a natural crosswind works wonders. Remember though, too much wind can bring dust and debris, posing a new set of problems.
Shade and Shelter:
Another aspect to think about is protection from direct elements. Although a bit of sunshine is helpful, direct sunlight can make paint dry too fast, leading to an uneven finish. Find a space that offers indirect light or dappled shade. Also, make sure the hutch is sheltered from unexpected rain or strong winds that could disrupt the drying process.
Safety First:
Even though pet-safe and child-safe paints are being used, make sure pets and little ones are kept at a safe distance until the paint has thoroughly dried and cured. The curing process can take a bit longer than surface drying, often several days, and it’s essential for the paint’s durability and the safety of the rabbit.
Consistency Is Key:
Apply consistent, thin layers of paint. These not only dry more uniformly but also reduce the risk of drips or bubbles which can complicate drying and ventilation. A well-applied coat of paint leads to a better finish and reduces the temptation for rabbits to nibble on any imperfections.
Routine Checks:
Even when the paint feels dry to the touch, don’t rush. Check the hutch periodically to make sure it’s drying evenly and adjust the ventilation if needed. Once it seems good to go, give it extra time – patience is genuinely a virtue in the world of painting hutches.
By following these simple guidelines, one can create a well-ventilated space that allows paint to dry under optimal conditions, marrying aesthetics with the imperative for pet safety. After all, a rabbit’s home should be as lovingly and carefully maintained as our own family spaces are.

Ensuring the safety and comfort of our pet rabbits through informed decisions about the products we use around them is not only imperative but a testament to our dedication as responsible pet owners. As we have explored the importance of choosing the right paint for a rabbit hutch, detailed the preparation and application process, and emphasized proper drying and ventilation, it is clear that these measures are vital. They prevent potential risks and create a haven where our rabbits can thrive. Taking these insights forward, we can confidently approach the task of painting our rabbits’ homes, armed with the knowledge that their safety is our top priority, and that their environment is as nurturing as it is endearing—a true labor of love.


